Step-by-Step Guide to Installing LED Recessed Lighting
Step-by-Step Guide to Installing LED Recessed Lighting
Installing LED recessed lighting can dramatically enhance the aesthetics and functionality of your home. This modern lighting solution not only provides excellent illumination but also complements various interior styles. In this comprehensive guide, we will walk you through each step of the installation process, ensuring you have all the information and tips necessary for a successful project. By the end, you'll be equipped to transform your space with beautiful, energy-efficient lighting.

What is LED Recessed Lighting
LED recessed lighting, commonly known as "can lighting" or "downlights," consists of fixtures installed directly into the ceiling, providing a seamless and elegant look that enhances a room's overall design. These versatile lights can effectively serve different purposes, including Task Lighting VS Accent Lighting VS Ambient Lighting, making them suitable for various settings. One of the primary advantages of LED recessed lighting is its energy efficiency, using up to 80% less electricity than traditional options, which leads to lower energy bills and a reduced environmental footprint. Additionally, LEDs boast an impressive lifespan, often exceeding 25,000 hours, resulting in less frequent replacements. Their sleek design also allows for greater flexibility in layout, making them an ideal choice for modern interiors.
Panning and Preparing Your Installation
Planning Your Installation
1. Assessing Your Lighting Needs: Evaluate the room’s size and purpose to determine the number of fixtures needed; larger spaces may require more lights for even illumination, while smaller areas typically need only a couple, with fixtures spaced 4 to 6 feet apart for optimal lighting.
2. Key Features to Look for in Fixtures
|
Feature |
Description |
Recommended Values |
|
Lumens |
Measure of brightness; higher lumens mean brighter lights |
800-1600 lumens per fixture for general lighting |
|
Watts |
Energy consumption; lower watts indicate higher efficiency |
10-15 watts for LED fixtures |
|
Color Temperature |
Warmth of the light, measured in Kelvin |
2700K-3000K for warm light, 4000K-5000K for cold light |
|
Size |
Depend on Light purpose or preference |
Ambient Lighting: 4-inch or more Task Lighting: 3-inch to 4-inch Accent Lighting: 3-inch to 4-inch |
|
Anti-Glare Features |
Reduces discomfort from bright lights |
Look for fixtures with integrated anti-glare technology |
|
UGR (Unified Glare Rating) |
Indicates glare discomfort; lower values are better |
for comfortable lighting: <13 (perceptible), 16 (slightly uncomfortable), 19 (just acceptable), 22 (blinking), 25 (dazzling), 28 (severely dazzling) |
3. Checking for Existing Wiring and Obstacles: Before making any cuts, thoroughly inspect the ceiling for existing wiring and structural elements like beams or ducts to avoid complications during installation.
Preparing Your Installation
1.Tools and Materials needed: Gather essential tools such as a drill, drywall circle cutter, wire cutter/stripper, voltage tester, and measuring tape to ensure a smooth and efficient installation process.
2.Choosing the Right LED Recessed Lights and Bulbs: LED recessed lights come in various types, including recessed led downlight, FLat panel recessed lighting, and recessed linear lighting, each providing unique lighting effects suited for different spaces. For optimal performance, it’s essential to select bulbs designed for recessed lighting. Among the options available, BR30 bulbs are particularly well-suited due to their broad, rounded shape, which facilitates even light distribution. This design not only enhances ambient illumination but also makes BR30 bulbs an ideal choice for achieving a well-lit environment in recessed fixtures.
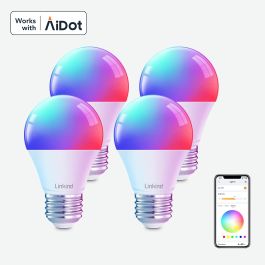
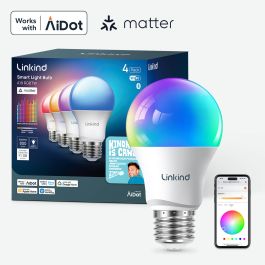
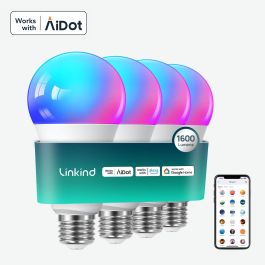
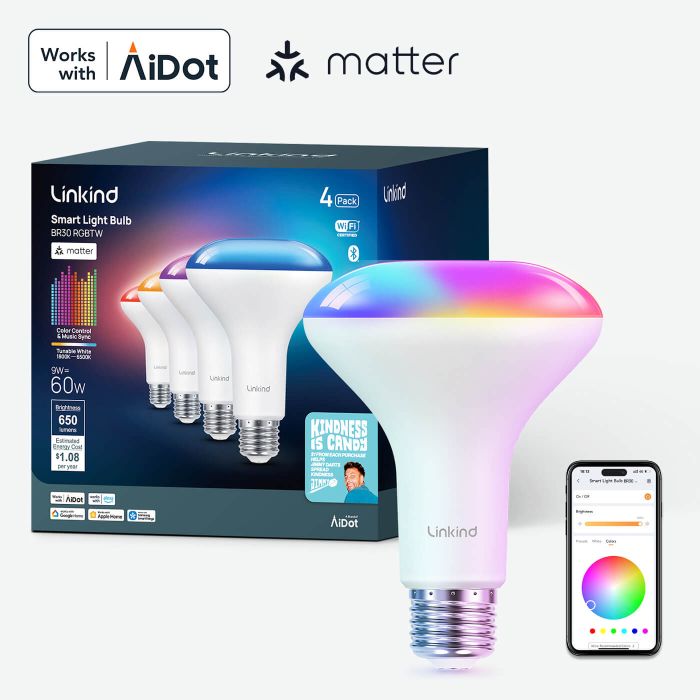
3.Selecting BR30 Light Bulbs to meet the need: Ensure compatibility with high-quality options like the Linkind Matter Smart RGBTW Bulb - BR30 Smart Light Bulbs.These Matter-certified smart bulbs offer centralized control across devices, enhancing privacy and security without relying on cloud services. Their versatile features—such as 1%-100% dimming, customizable schedules, and a wide color temperature range of 1800K to 6500K—make them ideal for LED recessed lighting. With a high Color Rendering Index (CRI) exceeding 90, these bulbs provide excellent color accuracy, allowing you to create the perfect ambiance for any occasion, whether it's a cozy evening or a lively gathering. Their ability to sync with sound and music further enhances your space, making them perfect for both relaxation and entertainment.
-
Uninterrupted Smart Lighting Control: Dual Wi-Fi/Bluetooth technology ensures always-on performance. 5-second reconnection after outages keeps your smart lighting responsive anywhere.
-
Matter Smart Home: Matter compatibility connects with Apple, Google, Amazon & SmartThings from one platform. Control all smart lighting without switching apps.
-
Dynamic Music-Reactive Lighting: Transform spaces with synchronized or multi-color async modes that pulse perfectly to your music's beat for immersive audio-visual experiences.
-
Customizable Atmosphere Creator: Choose from 104 preset modes and 16 million colors to set perfect ambiance for movies, gaming or relaxation with just a tap in the app.
-
High-Quality Assurance: Linkind BR30 smart matter light bulbs last up to 2500 hours a day and offer 2 years warranty, energy-saving 8W equivalent to a 65W incandescent bulb, and are designed with a gentle 60Hz frequency to minimize visual fatigue and promote eye comfort.
STEP BY STEP Installation Guide For Recessed Lighting
Step 1: Prepare Your Workspace
Start by clearing the installation area to create a safe and organized environment. Gather all necessary tools—such as a drill, drywall circle cutter, wire cutter/stripper, voltage tester, and measuring tape—and arrange them for easy access throughout the project.
Step 2: Turn Off Power
Safety is crucial. Locate your circuit breaker and switch off the power to the area where you’ll be working. Use a voltage tester to confirm that the electricity is completely off before proceeding with any installation tasks.
Step 3: Remove Existing Fixture
If you are replacing an old light fixture, carefully disconnect it. Take extra care with the wires to avoid any accidental damage or shock, ensuring a safe transition to the new installation.
Step 4: Mark Layout and Cut Holes
Using a measuring tape, accurately mark the locations for your recessed lights on the ceiling. This step is vital for achieving even lighting. Once you’ve marked the spots, utilize a drywall circle cutter to make clean, precise holes at each designated location.
Step 5: Run Electrical Wiring
Run electrical wiring from the junction box to each of the newly cut holes. Strip the ends of the wires and securely connect them according to the manufacturer’s guidelines. Ensure all connections are tight and safe to prevent any electrical issues.
Step 6: Install Light Fixtures
Carefully insert the recessed light fixtures into the holes. Follow the manufacturer's instructions for securing them, ensuring that they are stable without being overly tightened, which could damage the surrounding ceiling.
Step 7: Attach Trim and Insert Bulbs
Once the fixtures are installed, attach the trim that surrounds each light. Then, insert the appropriate light bulbs that match your desired brightness and color temperature, tailoring the ambiance of the space.

Step 8: Restore Power and Test Fixtures
After all components are in place, head back to the breaker box to restore power. Test each recessed light to confirm they are functioning correctly and providing the illumination you intended.
Conclusion
Installing LED recessed lighting is an effective way to enhance your home’s ambiance while improving energy efficiency. By assessing your room’s lighting needs and carefully selecting compatible fixtures, you can ensure optimal performance and aesthetic appeal. Following the outlined step-by-step installation guide simplifies the process, making it accessible for DIY enthusiasts. With the advantages of Linkind Matter BR30 bulbs - such as their broad, rounded shape for even light distribution, lower energy costs, and a longer lifespan compared to traditional lighting. Upgrade your LED Recessed Lighting today and enjoy a well-lit, inviting environment tailored to your style.
FAQs about LED Recessed Lighting
Q1: Are LED lights good for recessed lighting?
Yes, LED lights are an excellent choice for recessed lighting due to their energy efficiency, long lifespan, and versatility.
Q2: What is recessed LED lighting?
Recessed LED lighting consists of fixtures that are integrated into the ceiling, utilizing LED technology for illumination.
Q3: What is the disadvantage of recessed lights?
Potential downsides include the complexity of installation and the risk of creating shadows if fixtures are not spaced appropriately.
Q4: Can I replace recessed lights with LED?
Absolutely! Many existing recessed fixtures can accommodate LED bulbs, providing a simple and effective upgrade.


